Lightroom Brush Tutorial: Eye Enhancement. Today we will be showing you how to use brushes for eye enhancements in Adobe Lightroom. Brushes can enhance or soften the desired portion of your image. For this tutorial we will be using our premium preset collection, The Creative Flow, which includes over 900 presets and creative brushes. With a few simple steps, you can go from a mediocre photo to a more dynamic portrait.
- First, zoom in on your subject’s eyes.
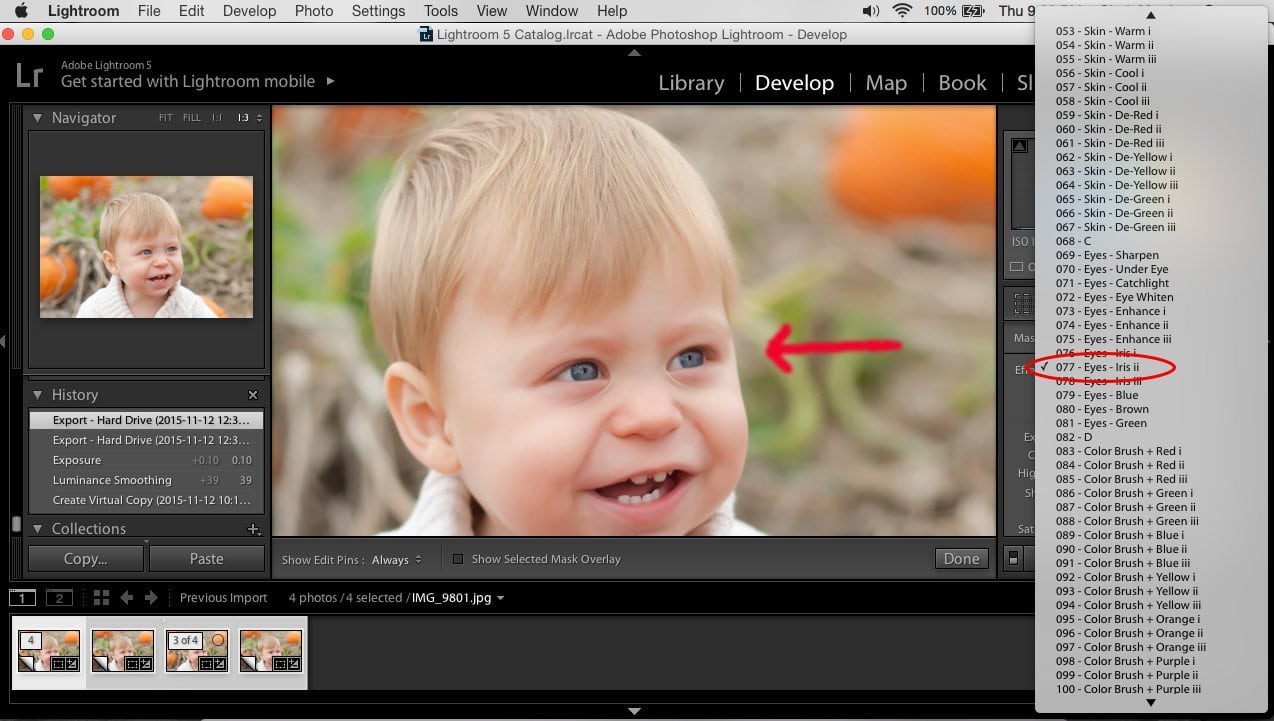
- Second, select the brushes tool and scroll through your variety of options.
- Third, select the brush that will create your desired results.
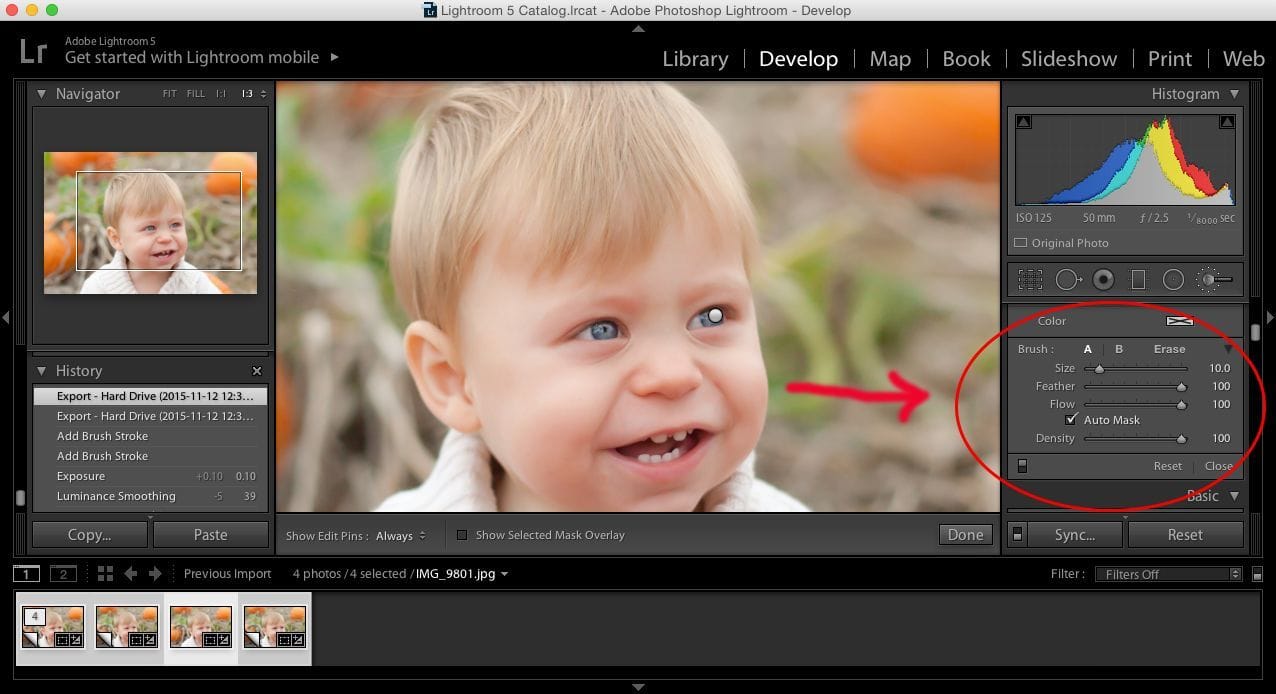
- Finally, start coloring! Depending on your brush, you may only want to paint on or around the iris.

Below, we have the same portrait edited three different ways using our brushes from The Creative Flow Preset Collection.


Insiders tip: When your brush tool is selected, scroll down to the menu titled “Brush: “ In this menu you can adjust the size, feather, flow and density of the preset you have selected to your desired results.

Looking for Premium Lightroom Presets? Upgrade to the Creative Flow and enjoy over 900 Lightroom Presets & Creative Brushes: The Creative Flow is the ultimate workflow and premium preset collection by Presetpro. The Creative Flow is your own personal preset “tool box” where you can swap out tone curves, change base settings or easily color tone your image with a few simple clicks. When you purchase the Creative Flow you get all of our premium collections (at a discounted price) plus the Creative Flow workflow and Creative Brushes. Enjoy the power of 900 + Lightroom presets integrated into one simple and easy to use workflow! The Creative Flow works with RAW and JPEG images and will run in Lightroom 4, Lightroom 5, Lightroom 6 and the Creative Cloud.